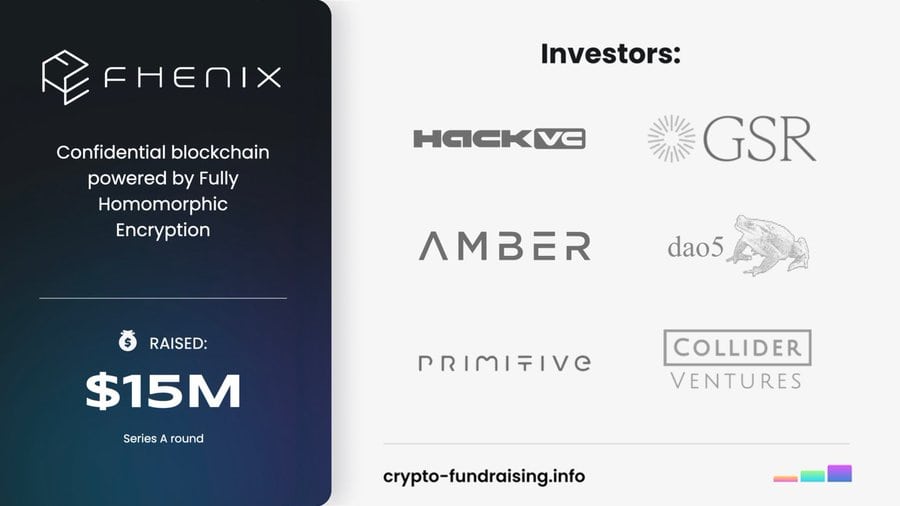
Fhenix Testnet Guide: The Fhenix Testnet offers an exciting opportunity to explore a groundbreaking confidential blockchain powered by Fully Homomorphic Encryption (FHE). As of August 18, 2025, Fhenix has gained significant attention following its $15M Series A funding, backed by investors like Hack VC and GSR. Participating in the testnet allows you to engage with this innovative platform, test its features, and potentially earn rewards. This step-by-step guide will walk you through the process of joining the Fhenix Testnet and getting started.

What is Fhenix?
Prerequisites For Fhenix Testnet
- An EVM-compatible wallet (e.g., MetaMask).
- A basic understanding of blockchain networks and wallet management.
- Access to a device with an internet connection.
Step-by-Step Guide to Join the Fhenix Testnet
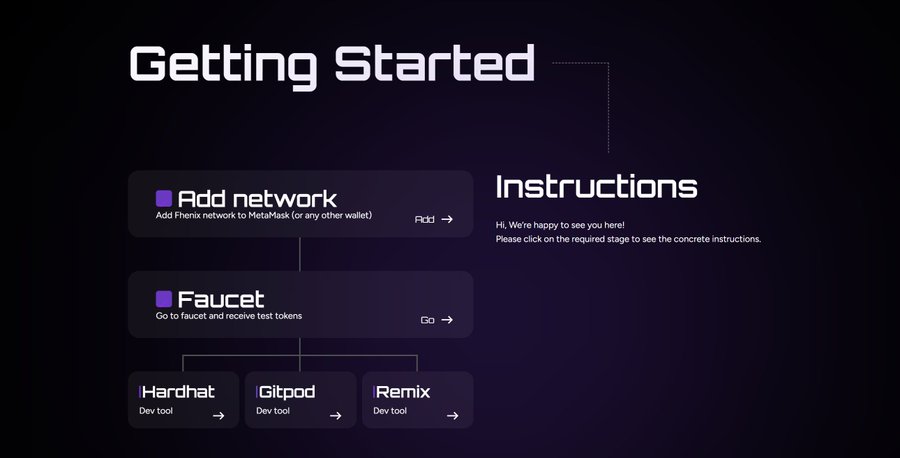
Step 1: Add the Fhenix Testnet Network
-
Visit the Official Docs → Head to docs.fhenix.zone to find the latest details for the Nitrogen or Helium Testnet. OR Goto: fhenix.io/getting-started-content
-
Open Your Wallet → Use MetaMask or any EVM-compatible wallet.
-
Add Network Manually → Click Add Network → Custom RPC and enter the RPC URL, Chain ID, and Network Name (all available in the Fhenix docs or official X announcements).
-
Save and Switch → Once added, switch your wallet to the Fhenix Testnet.
Step 2: Claim Test Tokens from the Faucet
-
Access the Faucet → Use the official faucet link (shared on Fhenix docs, X, or community channels).
-
Connect Your Wallet → Click Faucet and link your wallet.
-
Request Tokens → Enter your wallet address (or auto-fill), then click Get Coins.
-
Check Balance → Within a few minutes, your FHE test tokens should appear in your wallet.
– Check Out another airdrops and farming opportunities
Step 3: (Optional) Bridge Tokens
If you need extra tokens or want to move assets between networks:
-
Visit the Fhenix Bridge (official link provided via announcements).
-
Connect to Sepolia → Click Connect to Sepolia Network in your wallet.
-
Deposit Funds → Choose the amount of ETH to bridge from Sepolia → Fhenix Helium Testnet.
-
Confirm Transaction → Approve and wait for confirmation.
-
Get Sepolia ETH → If you don’t have any, use a Sepolia Faucet to grab test ETH first.
Step 4: Explore and Engage
Now that you’ve got tokens, it’s time to explore:
-
Interact with dApps → Use your test tokens on Fhenix-powered dApps or try deploying contracts.
-
Follow Updates → Stay tuned via @FhenixIO on X. They often announce new tasks, challenges, or updates.
-
Engage with the Community → Sharing insights, progress, or tutorials on X can help you connect with other testers and potentially boost your rewards.
Tips for Success
-
🔒 Stay Secure → Always use a separate wallet for testnet activities. Never expose your private keys.
-
🔄 Check for Updates → Faucet links, RPCs, or testnet details may change—always verify via official Fhenix docs or socials.
-
🤝 Be Active → Many testnets reward active users. Engaging with Fhenix now may improve your chances for future airdrops.
Explore other active testnets – Uomi Testnet guide
Why Join the Fhenix Testnet?
Fhenix recently raised $15M in Series A funding, signaling strong investor confidence. As a participant, you’re not only testing groundbreaking privacy tech but also positioning yourself for possible rewards, similar to how early users of Arbitrum and Optimism benefited.
Joining today gives you a front-row seat in shaping the confidential blockchain revolution.
🚀 Ready to dive in? Start by adding the Fhenix Testnet network to your wallet, claim your free test tokens, and begin exploring what could be one of the most impactful projects in Web3.
🔗 What to Do Next:
✅ Read: Beginner’s Guide to Farming Airdrops Without Spending a Dime
✅ Read: Top 7 Reasons You’re Missing Airdrops (And How to Fix It)
✅ Bookmark MyAirdropZone.com & Follow Us on X @Pi_gossip (Bankey Web3) for weekly farming updates.


